


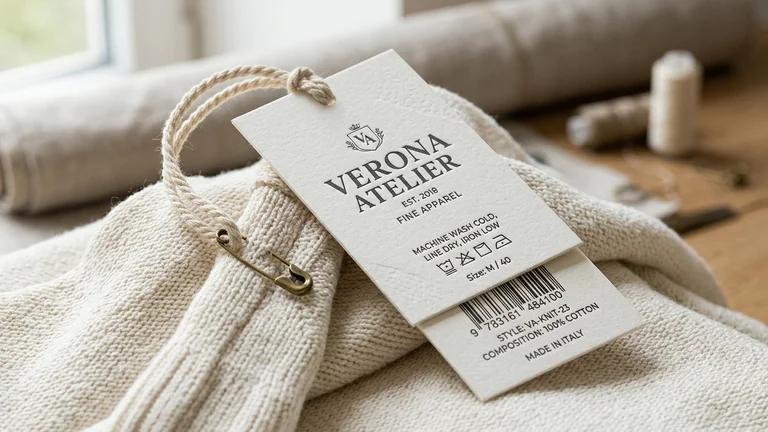
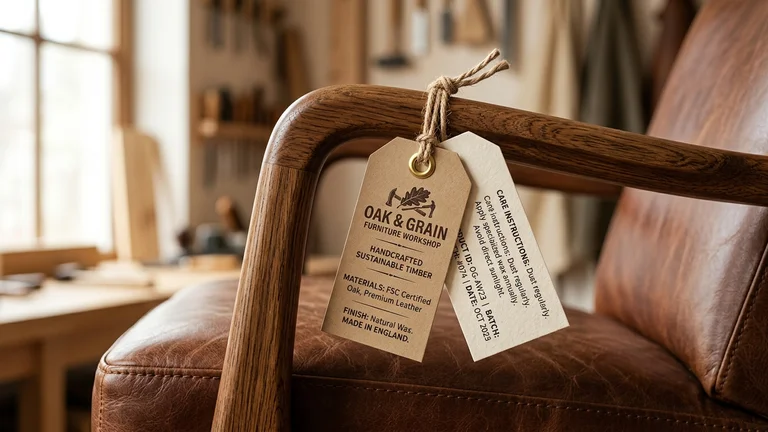
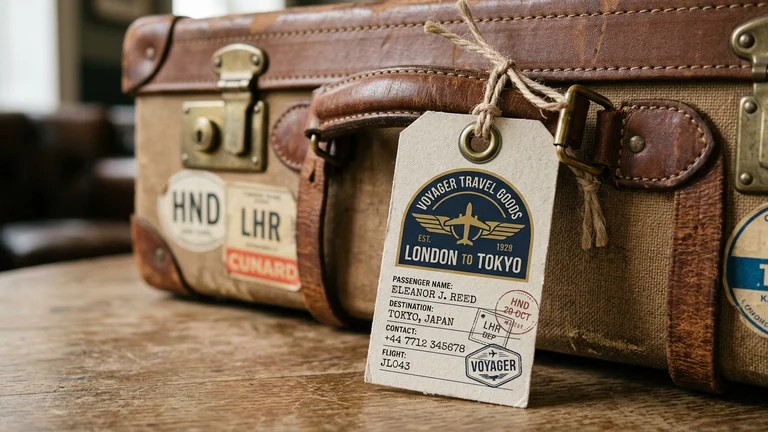
Custom swing tag products

Hang tags, swing tickets and product labels

Custom Swing Tag Printing UK: Professional Hang Tags & Garment Tickets

A retail swing tag does more than carry a logo. It can introduce the product, hold practical information and make the packaging feel considered. Start with the product, then choose the details that matter to it.

Whether you need a straightforward clothing tag, a folded product guide or a shaped tag for a launch, the first decision is usually the amount of information it needs to hold.

Browse the options at your own pace, then send over what you know. If the feel, colour or weight of the card matters, request a sample pack before settling on a material.

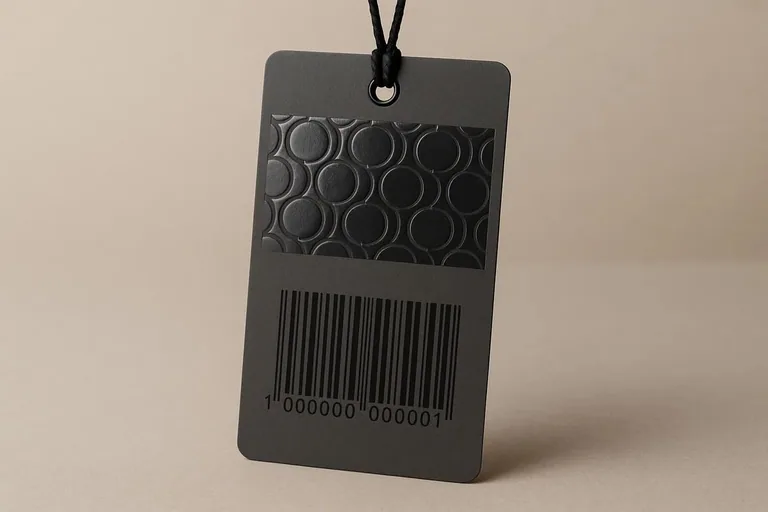
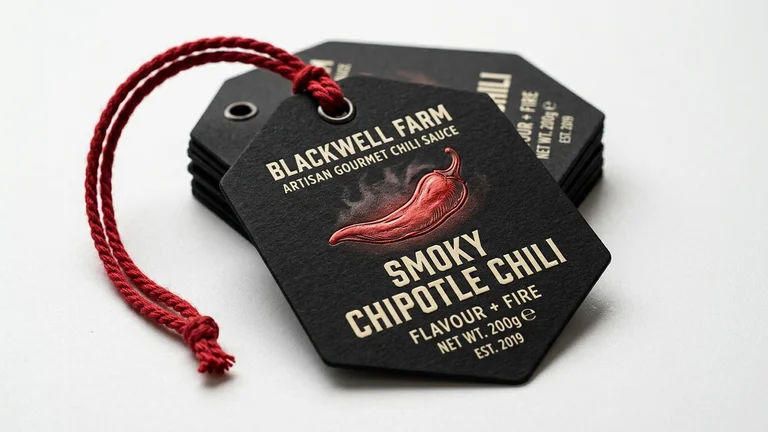
A selection of swing tag shapes, cards and attachments.Compare optionsMaterialsExplore materials Two swing tags attached to a jacket, showing different tag formats.Find the right fitTag shapesBrowse shapes A black swing tag with a red foil border and cord.Add the detailFinishesExplore finishes

Material selection

Choose the Card That Suits the Job

There is no single “best” card for every swing tag. The right choice depends on the look you want, the way the tag will be handled and what needs to be printed on it.

Coated and Uncoated Card

Silk, gloss and uncoated card each give artwork a different character. Coated card feels smoother and more polished; uncoated card has a more natural paper feel and can be useful where handwriting is part of the design.

Compare silk card, gloss card and uncoated card before adding lamination or other finishing.

Kraft, Recycled and Textured Card

Kraft, recycled and textured card bring more character to the surface itself. They are worth considering when the base material is part of the presentation, but it is always sensible to check a sample before relying on a particular shade or texture.

Use the kraft, recycled and textured card guides to narrow the material direction.

Coloured and Waterproof Options

Coloured card lets the base shade do some of the design work. If a tag will face tougher handling or moisture, explain that early too, so the material can be considered alongside the artwork and attachment.

Review coloured card or waterproof tags with the intended product use in mind.

If you are torn between two options, ask for a sample comparison rather than choosing from a screen alone.

Format and shape

Pick a Format That Makes Sense for the Product

The format affects how much information you can include, where the tag sits on the product and how it feels in the hand.

Standard and Folded Tags

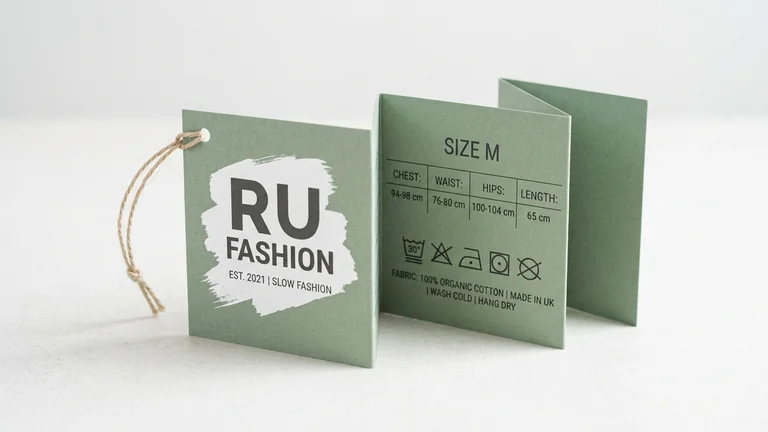
Standard tags work well when the message is short and clear. Folded and concertina tags give you more room for care notes, a product story, sizing or other information that would crowd a single panel.

Start with standard swing tags, folded tags or concertina-fold tags when the layout needs more than one panel.

Geometric and Bespoke Shapes

A circle, oval, heart, shield or custom outline can make the tag feel more distinctive, but the shape still needs to leave room for the key information and attachment point.

Browse the shape library, then use the template library when a dieline is required for planning.

Use-Specific Formats

A tag for a garment, bottle, piece of jewellery or parcel has different practical demands. Start with the product type if that is the clearest way for you to narrow the options.

Explore all use cases or move directly to clothing tags, jewellery tags, furniture tags or bottle-neck tags.

Attachment planning

Don’t Leave the Attachment Until the End

The way a tag hangs is part of the design. It affects the artwork, the balance of the tag and how the customer handles the product.

Hole Position and Reinforcement

Decide where the tag will attach before placing logos or small type. A hole or eyelet can become a useful part of the visual design, but it needs enough breathing room around it.

Read the drilled-hole guide with the eyelet guide before setting the position in a dieline.

Cord, Ribbons, Loops and Chains

Cord, ribbon, elastic loops and chains all create a different finish. Think about how the tag will be put on, removed and handled—not just how it looks in a flat design.

Compare strings and ribbons with elastic loops and ball chains.

Surface treatment

Use Finishes Where They Add Something

Finishes can change the way a tag catches the light, feels in the hand or works as part of the product. They are strongest when they support the design rather than compete with it.

Lamination and Surface Character

Matt, gloss and soft-touch lamination each change the surface in a different way. Compare them against the card and artwork rather than choosing a finish in isolation.

Compare matt, gloss and soft-touch lamination.

Foil, Spot UV and Tactile Detail

Foil, Spot UV, embossing and debossing are best used to draw attention to a logo, name or small detail. Leave space for them in the artwork from the start.

Explore foil, Spot UV and embossing or debossing.

Die-Cutting and Perforation

Die-cutting changes the outline; perforation creates a deliberate tear-off section. Both need a little more planning around the layout, especially if the tag carries essential product information.

Use the die-cutting guide or perforation guide when the structure is part of the product requirement.

Artwork and data

Set Up the Artwork Around the Finished Tag

A strong design starts with the actual format—not just a flat mock-up. Size, folds, trim, holes and codes all need a place before the artwork is finalised.

Artwork Setup and Templates

Use a template or guide when you need help placing the essentials. It is much easier to move a logo or barcode before the rest of the design is built around it.

Use the artwork guide, bleed and safe-area guide and downloadable templates as connected preparation steps.

QR Codes, Barcodes and Variable Information

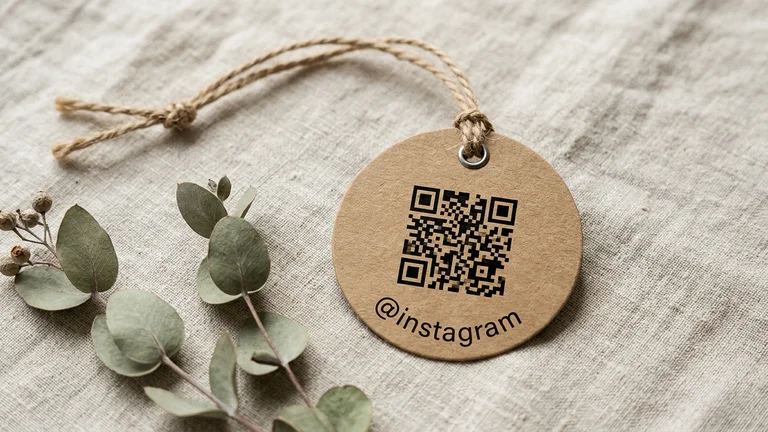
Barcodes, QR codes and changing product data need more than a spare corner. Give them clear space, good contrast and a practical size so they still work on the finished tag.

See barcode and QR-code guidance and variable data printing guidance before finalising the design.

Quote process

Start With the Essentials

You do not need to arrive with every choice made. A few basics give the quote process a useful starting point, and the remaining details can follow as the tag takes shape.

Start Here

These four details help put the project in context.

  1. Identify the product and intended use.
  2. List the essential information for the tag.
  3. State the approximate quantity.
  4. Share the required date and destination.

That is enough to begin a useful conversation about the tag.

Add Detail When You Can

Once you have a direction in mind, these choices make the quote more precise.

  1. Select the format and approximate dimensions.
  2. Choose a material direction.
  3. State the required print sides and information.
  4. Identify any finish or structural effect.
  5. Describe the hole, eyelet and attachment.
  6. Upload artwork when it is ready.

Artwork can be uploaded now or shared once it is ready.

Questions before you start

Frequently Asked Questions About Custom Swing Tags

A few common questions to help you get started. If your project has a particular requirement, include it in the quote request so it can be considered in context.

What do I need for a swing tag quote?

Tell us what you are tagging, roughly how many you need and when you need them. A size, artwork file or material preference is useful too, but it is fine if some of those details are still being decided. We can use the information you have to scope the quote.

How do I choose the card?

Start with the look and job the tag needs to do. Smooth coated card suits clean colour and image-led artwork; uncoated, kraft or textured card gives a different feel. If colour, texture or stiffness matters, a sample is the simplest way to compare them.

Which swing tag format fits my product?

Think first about the information that has to fit on the tag and how it will attach to the product. A simple tag is often enough for a logo and price; folded or shaped formats make more room for product details, a story or a distinct look.

How do I choose a hole, eyelet or attachment?

Plan the attachment alongside the tag, rather than after the artwork is finished. The product fixing point, the way the tag will hang and the card you choose all affect whether a hole, eyelet, cord, ribbon, loop or chain makes sense.

What artwork information is needed for a custom tag?

The finished size, shape, print sides and hole position are the essentials. Keep important type and logos clear of trim and holes, and flag any foil, embossing, barcode, QR code or variable information. The artwork guide and templates are there when you need a starting point.

Can a swing tag carry a QR code or barcode?

Yes—provided the code has enough clear space, contrast and a practical final size. Let us know what it needs to do: link to a page, identify a product, carry changing data or support stock control. That affects where it sits in the design.

How are price and turnaround confirmed?

Both depend on the finished job: quantity, size, card, print, finish, attachment, artwork readiness and destination. Share your required date early, especially if it is linked to a launch, event or delivery deadline.

Where should I start?

Begin with the tag style closest to your product. From there, look at materials, finishes, attachments and artwork only where they are relevant. You do not need to decide every detail before asking for a quote.