
Bleed & Safe Area

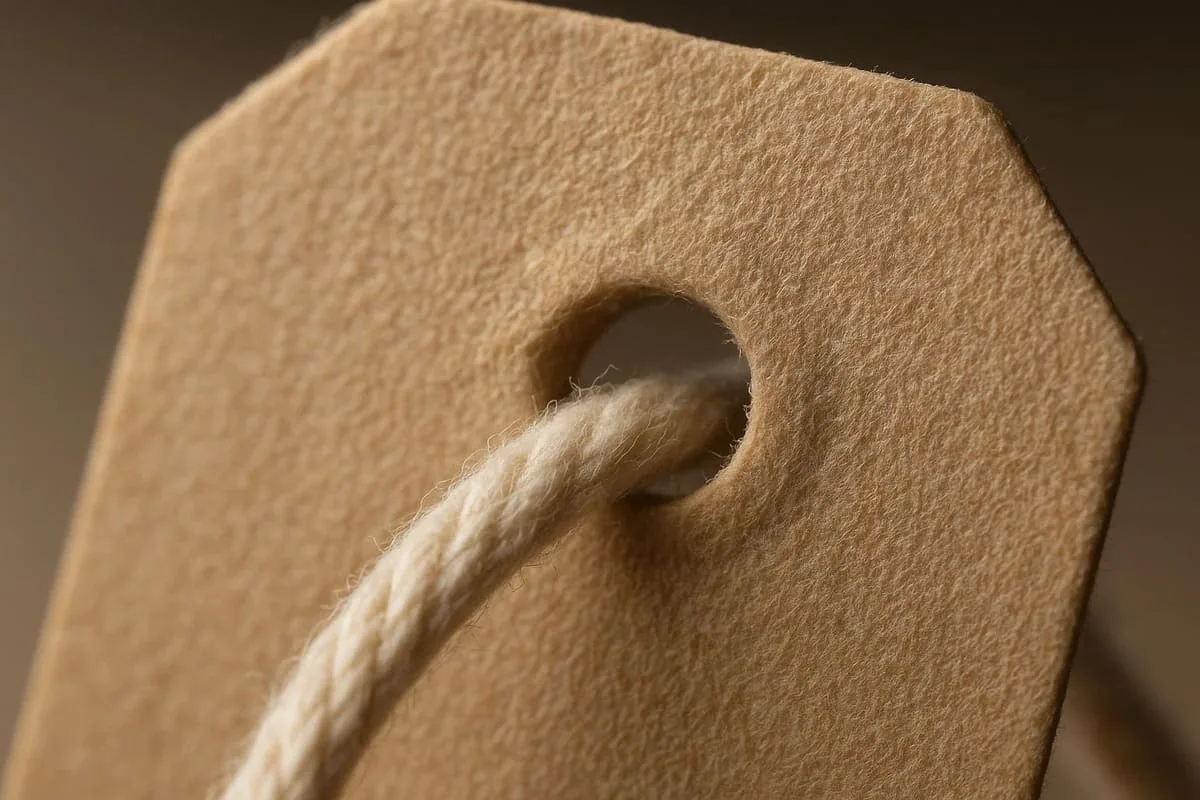
Swing tag trim edge close-up

Bleed, trim and safe area describe three different parts of a print file. Use the supplied template for the selected tag, extend background artwork into the bleed, and keep essential copy and codes within the safe area.

Understand the three working areas

The trim line is where the finished tag is cut. Bleed is extra background artwork that extends beyond that cut line, helping avoid an unintended white edge when a printed sheet is trimmed.

The safe area is the protected part inside the trim line. Keep logos, small type, barcodes, prices and other essential details there so normal cutting variation is less likely to affect them.

Design around holes and folds

A drilled hole, eyelet or fold changes the usable artwork area. Place key content so it is not obscured by the attachment, string or fold, and check both sides of a double-sided tag as a single physical object.

Do not rely on a visual guess for technical measurements. Download the template for the exact format or ask for it before final artwork is built.

Check the file before sending it

Review the artwork at 100% size, not only at a large on-screen zoom. Confirm that background colour reaches the bleed, that vital copy is inside the safe area and that no key design feature sits beneath an attachment.

Practical checklist

  • Use the template for the actual shape and size.
  • Extend edge-to-edge background elements into the bleed area.
  • Keep key text, logos and codes inside the marked safe area.
  • Check hole, fold and string positions on both sides before approval.

Continue planning your tag

Decision context

Use three boundaries for reliable finished artwork

The trim line marks the intended finished edge. Bleed extends backgrounds and images beyond that line so normal cutting movement does not expose an unintended unprinted sliver. The safe area keeps important text, logos and codes inside the edge where the same movement cannot cut or crowd them.

A shaped tag needs these boundaries around its complete cut path, not only a rectangular page box. Tight curves, corners and narrow projections reduce usable space. Folds, perforations, drill holes and eyelets create additional exclusion zones that should be visible on the working dieline.

Background elements may enter bleed; critical information should not. Fine borders close to trim make small movement conspicuous, so either increase their distance or design them to cross the edge deliberately. Check both sides in the correct orientation, especially where front and reverse artwork must align.

Keep the dieline on a clearly named non-printing or production layer according to the supplied template instructions. Export at the correct finished size, then inspect the PDF at high zoom and print a full-size proof. The approved file should match the written size and finishing specification.