
Oval Swing Tag Dimensions & Shape Guide
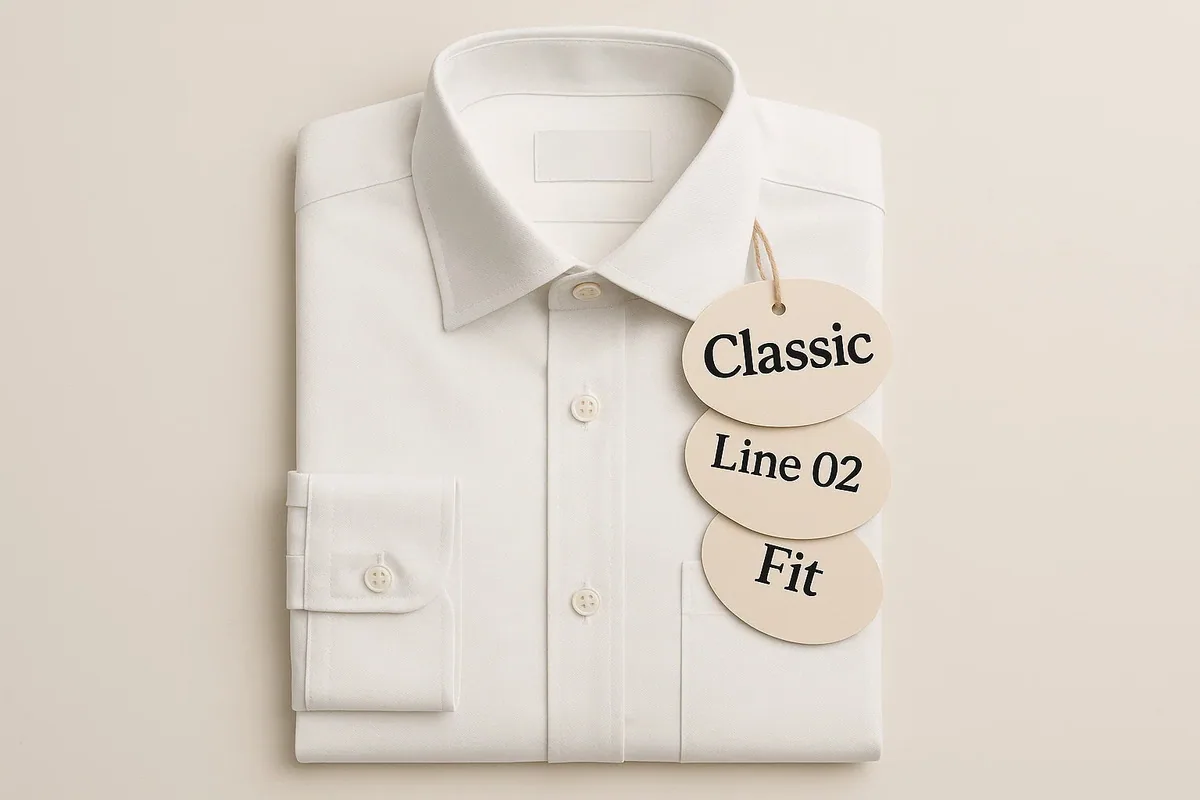
An oval swing tag provides a curved, vertical or horizontal elliptical silhouette with continuous edge radiuses. Standard UK production dimensions include 50×85mm and 60×100mm, die-cut so the curve runs smoothly all the way round.
Oval Swing Tag Dimensions & Geometric Layout
Oval swing tags are a classic packaging choice for heritage fashion labels, artisan distilleries, apothecary cosmetics, and gourmet jar goods. The continuous curved border naturally frames central brand crests, monograms, and typography while softening the overall visual aesthetic compared to standard rectangular tags.
Standard Production Dimensions
- Standard Vertical Oval (50 × 85mm): Direct geometric equivalent to standard 85×55mm cards, commonly used for apparel swing tickets and knitwear.
- Large Bottle & Jar Oval (60 × 100mm): Offers generous surface area for botanical ingredient lists, distillery notes, and retail barcodes.
- Horizontal Oval Badge (85 × 50mm): Frequently chosen for eyewear, denim waistbands, and leather goods.
Artwork Setup & Drill Hole Tolerances
When preparing vector artwork for oval tags:
- Hole Position: The standard 3mm hole is centred on the vertical axis, 5–7mm below the top of the oval, so it is less likely to tear out through the edge.
- Bleed Path: Extend the artwork 3mm beyond the oval cut line, and keep any thin border that follows the edge at least 3mm inside it, where small cutting movement is less noticeable.
- Caliper & Board: Specifying 350gsm Silk, 400gsm Uncoated, or 300gsm Kraft ensures structural firmness when hung from garment eyelets or bottle necks.
Order Finished Oval Tags
Ready to produce physical oval swing tags? Use our commercial ordering builder to select your card stock, stringing attachments, and premium metallic foil embellishments.
Decision context
Use the oval curve to organise safe print space
An oval softens the outline of a rectangular tag while retaining a clear vertical or horizontal axis. Choose orientation around the product and information. A narrow portrait oval supports hanging, while a wider oval may suit a short logo or label-like presentation.
The curved edge reduces space at both ends, so rectangular text boxes can appear crowded even when they fit mathematically. Keep important copy, borders and codes inside a safe inner oval and avoid placing detail where the curve approaches the cut path.
Position the drill hole on the intended axis with enough surrounding board. A top-centre hole produces a different hanging balance from an offset attachment. Test the shape with its cord or eyelet, especially at larger dimensions where leverage and rotation become more noticeable.
Supply the approved oval as a closed vector dieline at final size with bleed beyond the curve. Check front and reverse orientation, material, cutting method and any finish. A full-size mock-up confirms whether the silhouette and usable area work on the actual product.