1. Bleed and Safe Margins
When printing and cutting swing tags, there is always a slight mechanical movement. To ensure no unwanted white borders appear on your final tags:
- Bleed Area: Extend any background colours or imagery 3mm beyond the final cut line (see our detailed Bleed and Safe Area Guide).
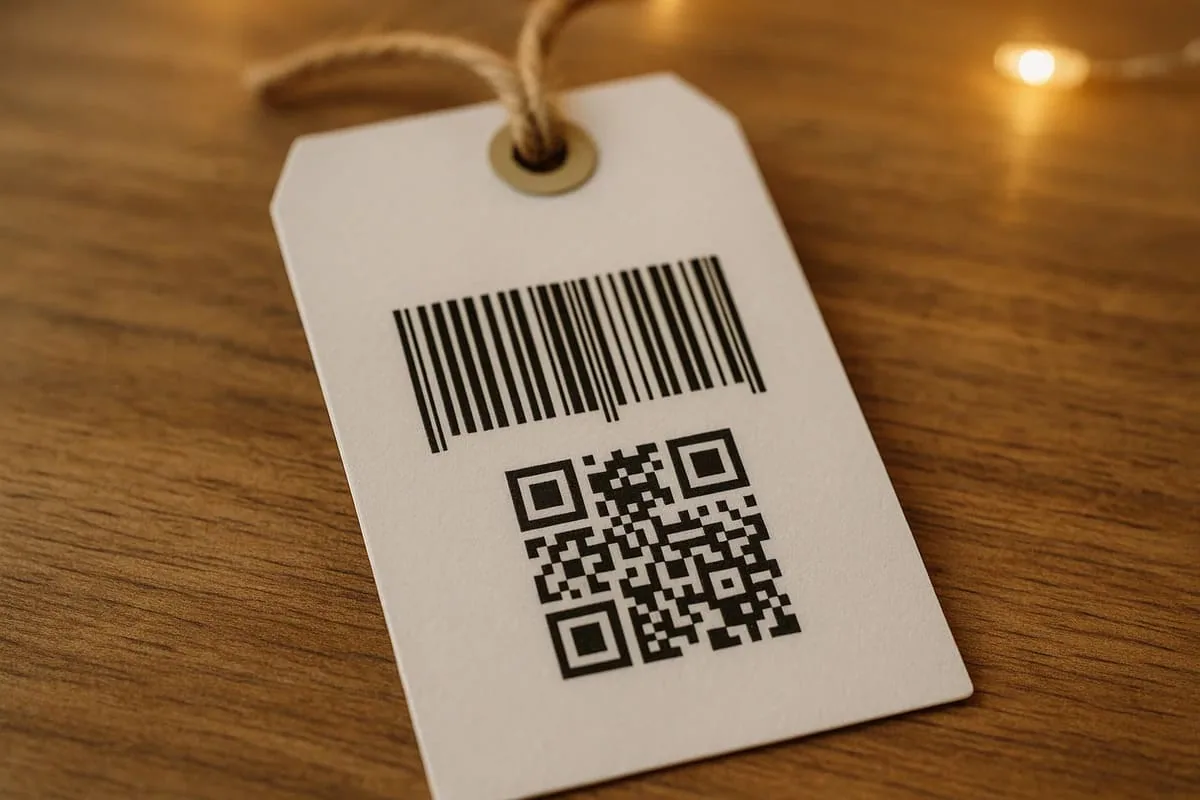
- Safe Zone: Keep all essential text, barcodes, and logos at least 3mm inside the cut edge to avoid clipping. Review our Common Artwork Mistakes Guide to verify margins.
2. Colour Mode: CMYK
All artwork must be supplied in CMYK (Cyan, Magenta, Yellow, Key/Black) rather than RGB. RGB is used for digital screens and cannot be replicated precisely by printing inks. Converting your file to CMYK ensures zero unexpected colour shifts. Learn more in our CMYK and Pantone Colour Guide.
3. Image Resolution
Any raster images (photos or textures) included in your design must be minimum 300 DPI at 100% scale. Using low-resolution 72 DPI web images results in pixelated print output.
4. Fonts and Outlines
To prevent font substitution errors, convert all typography into vector outlines (curves) before exporting your print-ready PDF. Follow our step-by-step Font & Typography Outlining Guide.
5. Drill Hole Placement
Our standard drill hole is 4mm in diameter. Ensure no important text or logos sit within 5mm of the hole centre. See our Drill Hole Positioning Guide and Logo Placement Guide for exact tolerances.
6. Accepted File Formats & Templates
We prefer Print-Ready PDF files exported with bleed and crop marks. We also accept Adobe Illustrator (.ai) or EPS files. Read our File Formats Guide or download free vector templates from our Vector Dielines Library. If you need help preparing your files, explore our In-House Design Service.