
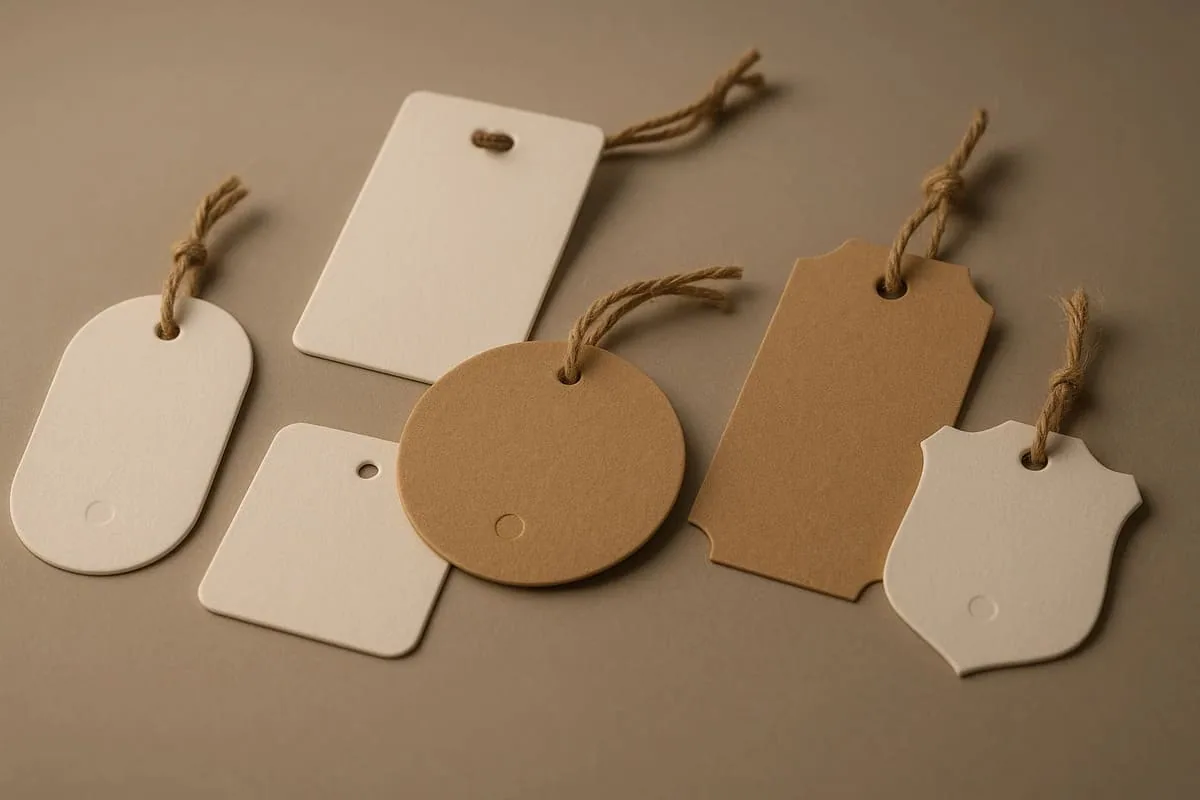
Die-Cutting

Die-cut swing tags

Die-cutting trims a tag to a specified outline using a cutting forme or digital cutting process. It enables custom silhouettes, internal cut-outs and rounded profiles, but the shape must remain strong enough around holes, narrow sections and fine details.

Design a shape that survives handling

Sharp internal corners, very thin projections and narrow bridges can bend, tear or cut inconsistently. A successful outline is recognisable without depending on fragile detail and still provides enough printable area for the required information.

Create the cutting path

  • Supply one closed vector path at finished size.
  • Keep the cutting path separate from printed artwork.
  • Avoid duplicate points, open paths and unnecessary complexity.
  • Add bleed beyond the full outline.
  • Mark drill holes, folds and perforations independently.
  • Keep text and logos inside a practical safe area.

Tooling and repeat orders

A bespoke forme may involve an initial setup charge and lead time. Reusing an approved outline can make repeat production more consistent, but changing size or shape normally requires new tooling or setup. Confirm ownership and storage arrangements for any physical forme.

Decision context

Turn the silhouette into a production-safe cut path

Die-cutting uses a defined path to create the finished outline, windows or other cut features. Supply a clean closed vector path at final size. Decorative raster effects, masks and a visual outline are not substitutes for an unambiguous production line.

Avoid fragile projections, extremely tight internal corners and narrow bridges that may distort, tear or reduce usable artwork space. Smooth curves and purposeful corner radii are easier to handle. The chosen board, lamination and finished dimensions affect how the cut object behaves.

Create bleed beyond the cut path and keep essential text, borders and codes safely inside it. Mark drill holes, folds and perforations separately. If front and reverse artwork must align to a distinctive shape, check both sides in the correct orientation around the same dieline.

Print and cut a paper mock-up before tooling approval. Attach it to the product and place it in the intended packaging. Confirm the final vector, size, stock and quantity because a custom cutting forme is a production asset tied to the approved geometry.