Description
A product-specific format
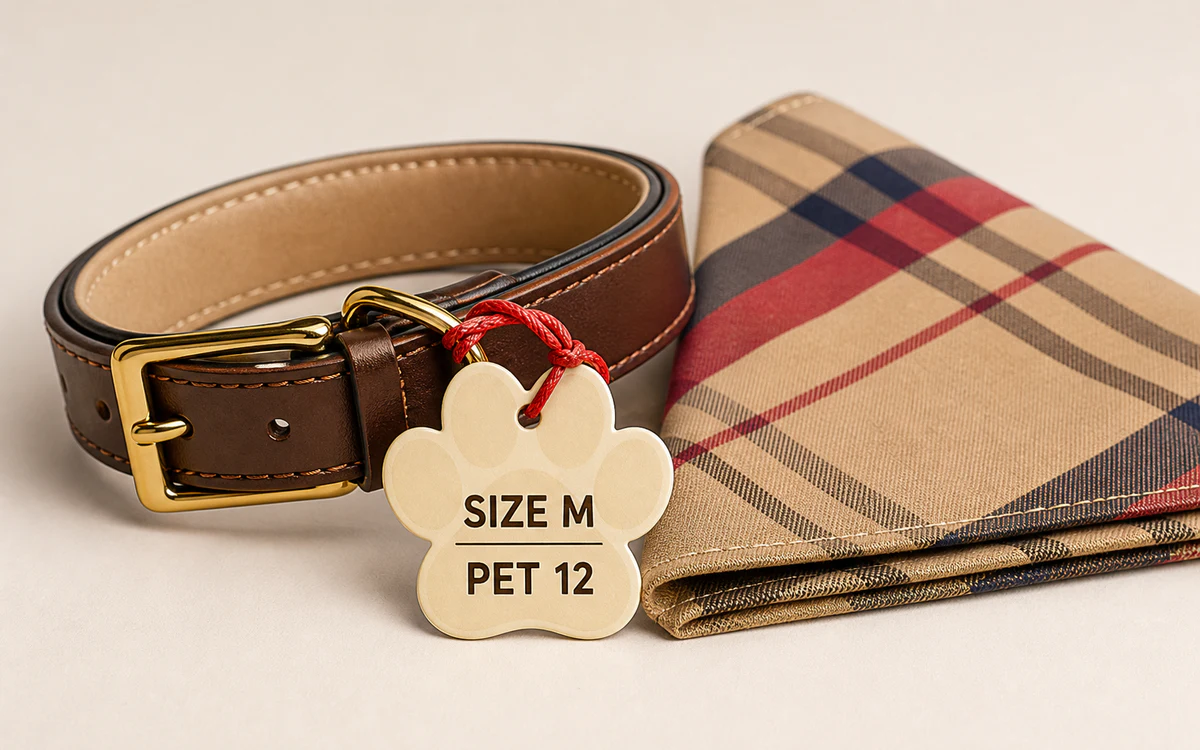
Paw Print Tags for product presentation
Paw Print Tags give product teams a dedicated format for the information and presentation requirements of the item being sold. The specification should begin with the product it will be attached to, then account for the information the tag needs to carry.
Use the form to record the final size, card direction, print sides, finishing and attachment. This keeps the practical decisions together before artwork is supplied or confirmed.
Where this format fits
Paw Print Tags uses
Product identification
Make product, range or variant information easier to locate at the point of display.
Retail information
Plan space for a price, barcode, product reference or other information required by the product.
Brand presentation
Use the proportions, card and finish to support the visual character of the product range.
Packaging and gifting
Add a removable information or presentation layer without changing the primary packaging.
Additional information
Build the specification
Paw Print Tags specification
The final production specification should be agreed from the product requirements, artwork and quantity—not guessed from a generic price table.
- Size and proportions
- Choose a size that gives essential information enough room and works with the product.
- Card and surface
- Select the material and surface direction that suit handling, writing requirements and the planned artwork.
- Print and information
- Specify one or both sides and identify any barcode, variable information or mandatory copy.
- Hole and attachment
- Describe how the tag will attach to the product, including the preferred string, loop, ribbon or hardware.
- Finishing
- Discuss lamination, foil, Spot UV, embossing or other finishing only where it supports the artwork and use.
- Quantity and deadline
- Share the quantity and required date so the quote can be based on the real requirement.
Material, print and finish
Choose the details around the product
Format alone does not determine the finished tag. The card, print, finish and attachment should be chosen together with the product context and artwork.
- Material: Compare available card directions before finalising the design.
- Printing: Plan the information that needs to appear on each side of the tag.
- Finishing: Use finishing options where they improve durability, contrast or brand presentation.
- Attachment: Match the attachment to the product, hole position and intended customer interaction.
Artwork and file guidance
Prepare the artwork
Plan the finished format before export
Keep essential copy clear of the trim edge and attachment area. The page-specific artwork guidance explains the considerations for formats, holes, folds and variable product information.
If artwork is not final, submit the product and specification details first. This gives the production conversation a clear starting point without forcing a premature file upload.
Continue your research
Further swing tag guidance
Questions and answers
Questions before you order
Paw Print Tags FAQs
What information can paw print tags carry?
The available space can be planned around a logo, price, product name, barcode, care information, promotion or short brand message.
Can I choose a custom size?
Use the quote form to state the approximate size and product context. The final dimensions can then be discussed with the other specification details.
Can I provide artwork later?
Yes. You can submit the specification first and upload artwork when it is ready.
How should the tag attach to the product?
Choose an attachment method that suits the product, hole position, handling and the intended customer experience.