
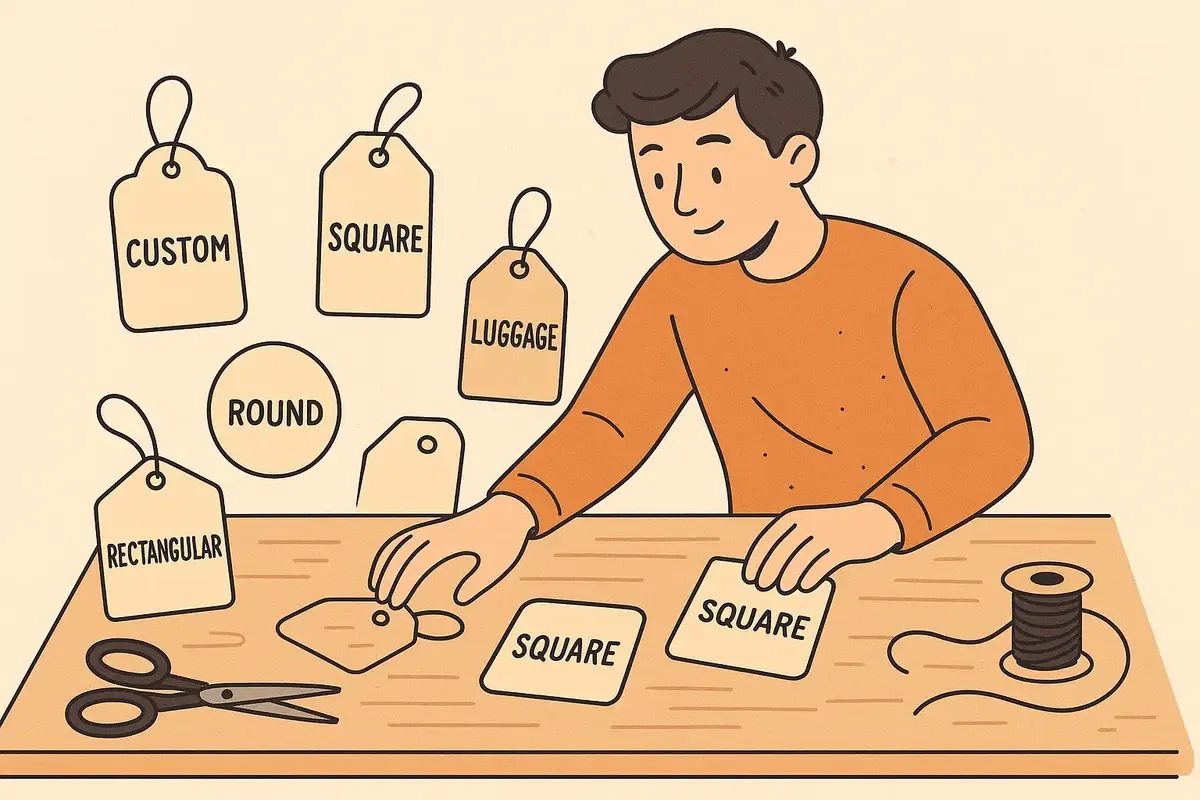
A basic DIY workflow
- Set a finished size and add bleed if colour reaches the edge.
- Design at the correct dimensions with readable type.
- Print a test sheet on a card your printer can feed safely.
- Trim with a guarded cutter and consistent guides.
- Punch the hole away from text and attach string or ribbon.
- Test the tag on the actual product before producing the batch.
Where DIY tags are useful
Hand production can be appropriate for mock-ups, market testing, one-off gifts or micro-runs where variation is part of the handmade character. It also helps confirm physical scale and information hierarchy before commercial artwork is final.
Where commercial production changes the result
- Consistency
- Controlled printing and cutting keep colour, alignment and size more stable across a run.
- Material range
- Commercial equipment can handle boards and synthetic stocks that desktop printers cannot feed reliably.
- Finishing
- Lamination, foil, Spot UV, embossing, die-cutting and perforation require specialist processes and setup.
- Throughput
- Drilling, collating and stringing can be planned for quantities that would be slow to complete by hand.
Compare total cost, not only print price
Include paper waste, ink, tools, failed sheets, labour, trimming time and rework. For a commercial launch, also consider the cost of inconsistent barcodes, incorrect versions or a tag that does not survive packing and transport.