1. Pre-Flight and Proofing
When you send us your artwork, it doesn't go straight to print. Our studio team runs a 'pre-flight' check to ensure the resolution is high enough, the bleed margins are correct, and the colours are set to CMYK. Review our Pre-Order Artwork Checklist to ensure your files pass without delay.
2. Printing on Commercial Presses
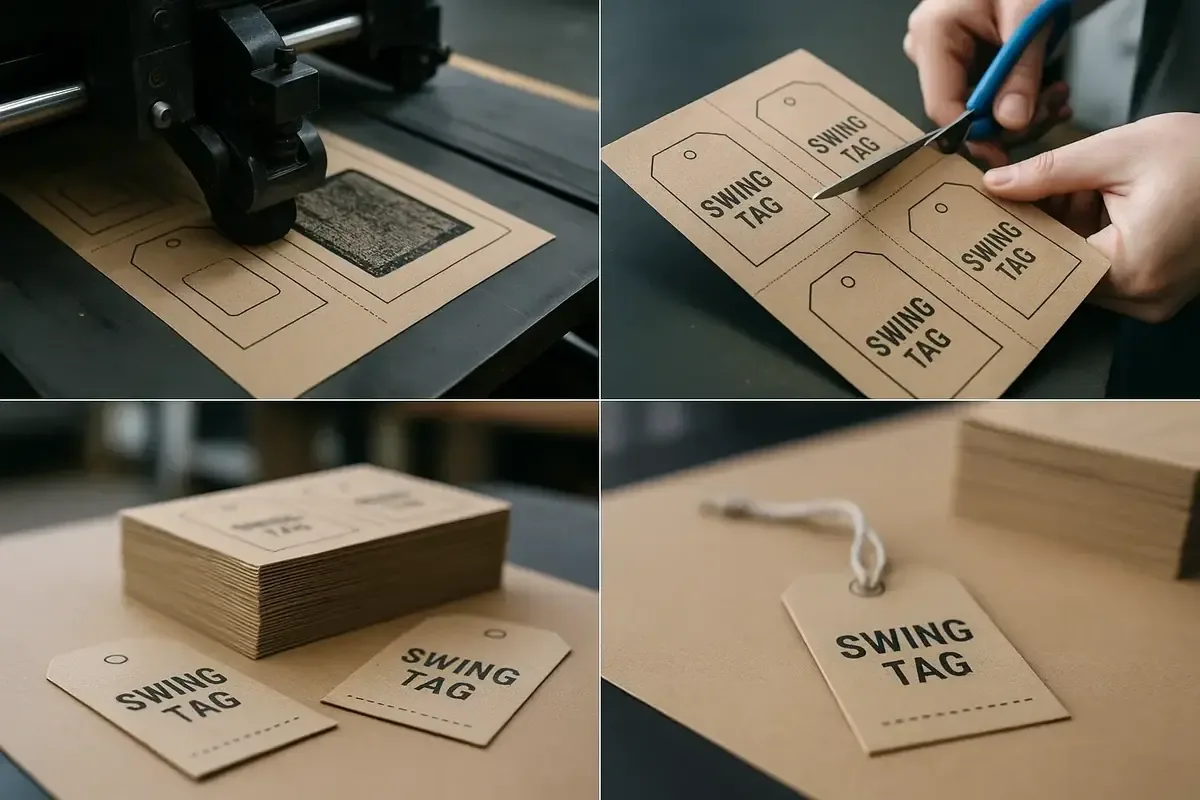
Once approved, your tags are printed on high-end commercial digital or lithographic presses, depending on the run size and material. This ensures rich, accurate colours and crisp typography, whether we're printing on textured kraft paper or smooth silk card.
3. Adding Premium Finishes (Optional)
If your order includes special finishes, this happens next:
- Lamination: Applying a matte, gloss, or soft-touch protective layer.
- Foil Stamping: Using heat and pressure to apply metallic foil accents.
- Embossing/Debossing: Pressing the card to create raised or recessed textures.
4. Die-Cutting and Trimming
The printed sheets are then cut down to size with industrial tolerances. Learn how precision die-stamping compares to home cutting in our guide: DIY vs Professional Swing Tag Manufacturing.
5. Drilling and Stringing
The final mechanical step is drilling the string hole, usually a standard 4mm diameter. If you've requested pre-strung tags, our team meticulously ties or loops your chosen cotton, jute, or elastic cords through each tag by hand or machine.
6. Quality Control and Dispatch
Before packing, your order goes through a final quality control check to ensure the cuts are clean, the print is flawless, and the count is correct. They are then securely boxed and dispatched via our tracked UK courier network.