
1. Start with the product and information
A garment may need size, price, care and barcode details; a gift may need only a short message; a bottle promotion may need a neck-hanging format. List mandatory and optional information before choosing dimensions. This exposes whether a standard flat tag is sufficient or whether a folded, perforated or custom-shaped format is useful.
2. Match the material to handling
- Coated card
- Supports clean colour reproduction and is a familiar choice for detailed brand artwork.
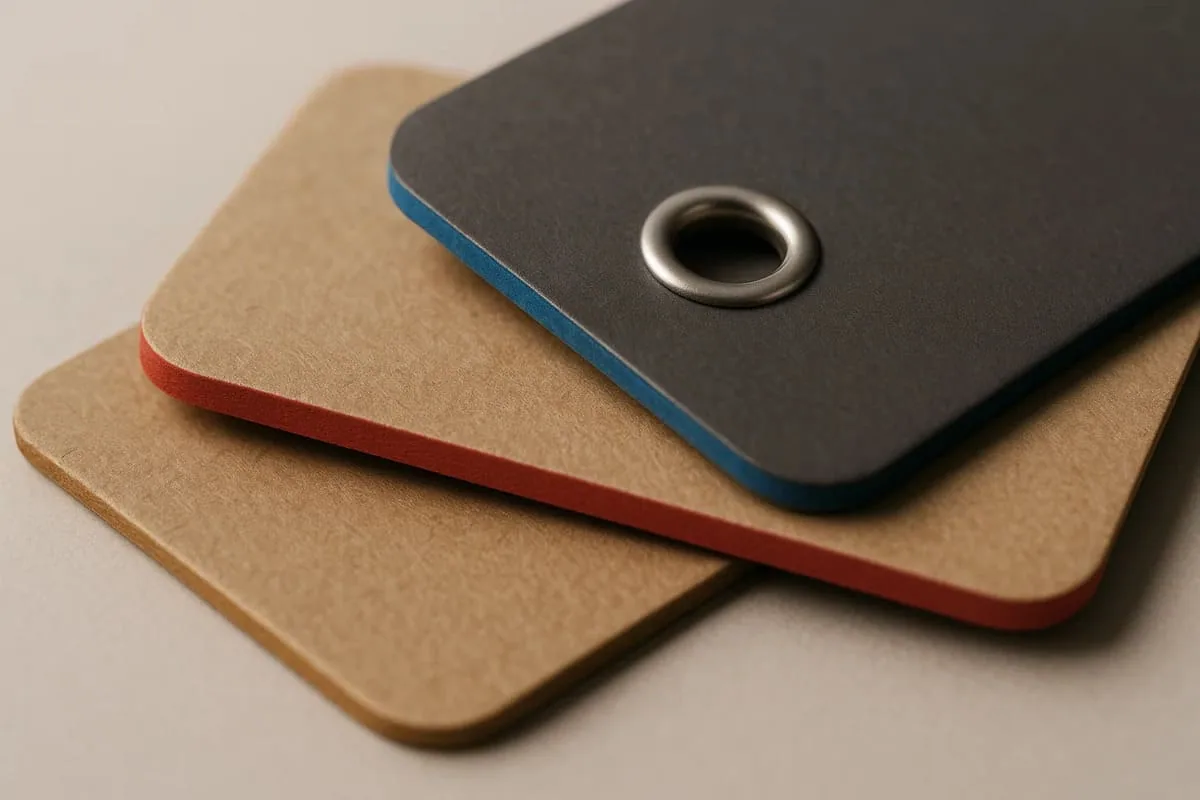
- Uncoated or kraft card
- Provides a natural surface and is normally easier to write or stamp on.
- Recycled card
- Can support a lower-impact material brief, but colour, texture and recycled content must be confirmed for the chosen stock.
- Durable synthetic stock
- Consider for damp, outdoor or high-handling situations where ordinary board may soften or tear.
3. Choose finishes selectively
Lamination can change surface feel and scuff resistance. Foil, Spot UV, embossing and debossing create emphasis but require suitable artwork and additional production stages. Use a finish to highlight a specific element rather than applying every option at once.
4. Test attachment and scale
- Check that the tag does not cover the product or important packaging information.
- Allow space around the drill hole so a string does not cross the logo or text.
- Choose an attachment compatible with the product and retail handling.
- Review a physical sample when card feel, colour or finish is important.
- Confirm quantity, versions, artwork readiness and required delivery date before approval.