
Classic & Rectilinear
Prioritise predictable print area, efficient layouts and space for product information, prices, care details or codes.
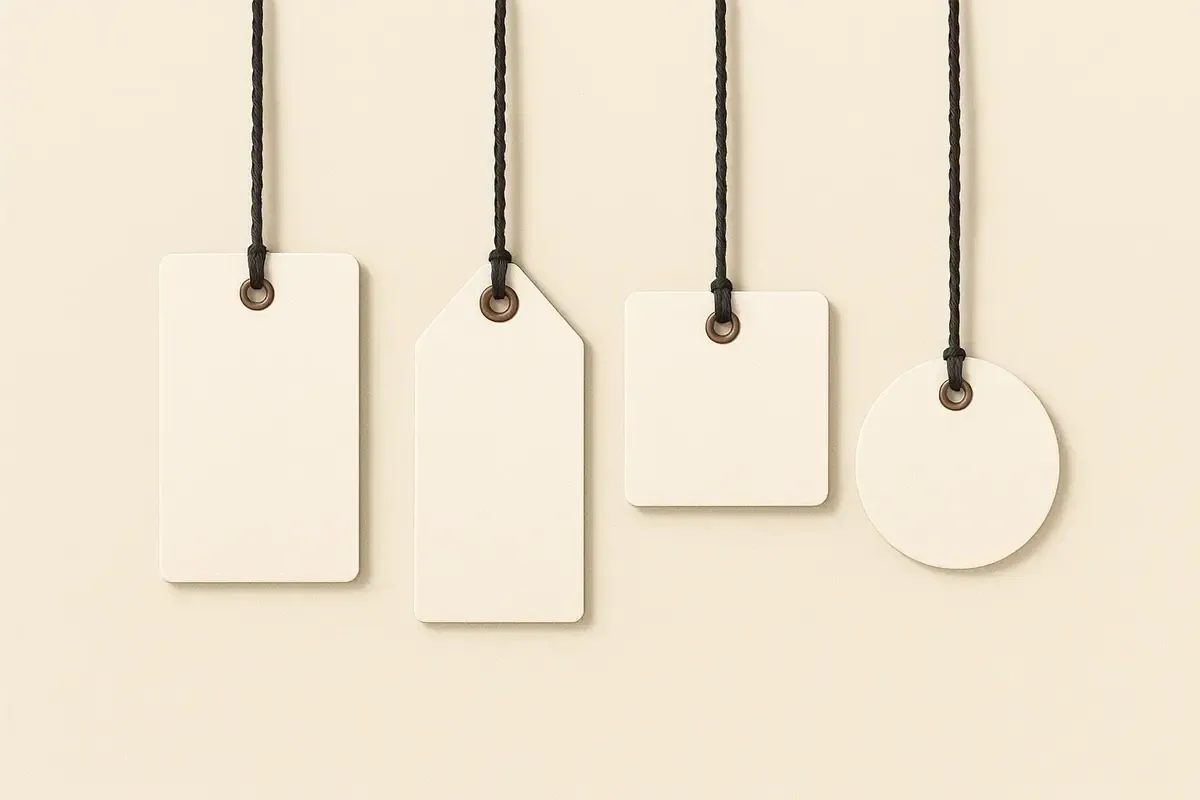
Shape affects usable print area, information hierarchy, attachment position, cutting setup and how efficiently a tag sits with the product. Compare standard rectangles and squares with circles, polygons, organic silhouettes and custom die-cut outlines.
Start with the content that must remain legible. Decorative corners and narrow points reduce the safe area, while a hole or eyelet needs enough material around it to remain secure during handling.
Prioritise predictable print area, efficient layouts and space for product information, prices, care details or codes.
Use curved outlines for recognition and presentation while allowing for reduced space near rounded edges.
Build visual distinction with strong silhouettes, then test the safe area around corners, points and the attachment hole.
Use a custom contour when the silhouette contributes to recognition or fits a particular product. Supply or approve a clean cutting path and keep small notches, acute points and hole margins practical.
Custom Die-Cut ToolingDownload DielinesRectangles generally provide the clearest relationship between finished size and usable area. Circles, hexagons and other geometric shapes create a stronger outline but require text and codes to move inward from the edges. Folded formats add panels but introduce fold direction and panel-sequence decisions. A custom contour adds tooling and artwork considerations, so it should answer a product or brand need rather than add complexity without purpose.
Before choosing, sketch the logo, longest text line, code, price and hole on the proposed outline. If these elements compete for space, increase the size, simplify the content or return to a less restrictive shape.
Decision context
Rectangle and square formats use print area efficiently, while circles, ovals, shields and bespoke silhouettes can create a more distinctive outline. The right choice depends on the information, attachment point and product scale. A recognisable shape is only useful when the tag remains readable and practical to handle.
Curves, corners, narrow projections and internal cut-outs affect the dieline and safe area. Important text and borders need clearance from the cut path, and a hole needs enough surrounding material to resist tearing. Fold, perforation or eyelet positions should be drawn into the same artwork template.
Test the silhouette on the real product and inside its packing method. A tag can appear balanced on screen but rotate, cover packaging information, catch on fabric or become damaged in transit. Small changes to dimensions or hole position often improve use without changing the core visual idea.
Use the shape guide to select a family, then confirm finished dimensions, corner treatment, cutting method and artwork tolerances. Custom tooling should follow an approved vector path; standard shapes can reduce setup, but they still need a specification for material, print, finish and attachment.
Jump straight into our configurator and start building your specification.
Configure Tags